
How to Paint Your Exterior Trim Like a Pro

Giving your home's exterior trim a fresh coat of paint can significantly enhance its curb appeal and protect it from the elements. Whether you're looking to revitalize the look of your house or maintain its condition, painting your exterior trim is a worthwhile project. Here’s a detailed guide on how to achieve professional results, complete with tips, tricks, and safety measures.
Advantages of Hiring a Contractor Painter
Before diving into the DIY approach, consider the benefits of hiring a professional contractor painter:
- Expertise: Contractors have specialized knowledge and experience in exterior trim painting techniques.
- Efficiency: They can complete the job faster than most homeowners, minimizing disruption.
- Quality: Professional painters ensure a high-quality finish that lasts longer and withstands weather conditions.
- Safety: They are equipped with proper safety gear and adhere to safety protocols, reducing risks.
DIY Painting Guide: Step-by-Step
Step 1: Assess the Condition and Plan
- Inspect: Evaluate the current condition of the trim for any damage, mildew, or loose paint.
- Clean: Power wash or scrub surfaces to remove dirt, mold, and old paint using a mild detergent.
Step 2: Prepare the Surface
- Scrape and Sand: Remove loose paint with a scraper and smooth rough areas with sandpaper.
- Fill and Caulk: Fill holes and gaps with exterior-grade filler and caulk to ensure a smooth surface.
- Prime: Apply primer to bare wood and spot-prime areas where paint has been scraped off.
Step 3: Choose the Right Paint and Equipment
- Paint Type: Opt for high-quality exterior paint suitable for Bellingham’s climate, often with built-in primer for durability.
- Brushes and Rollers: Use synthetic-bristle brushes and rollers appropriate for your trim's texture.
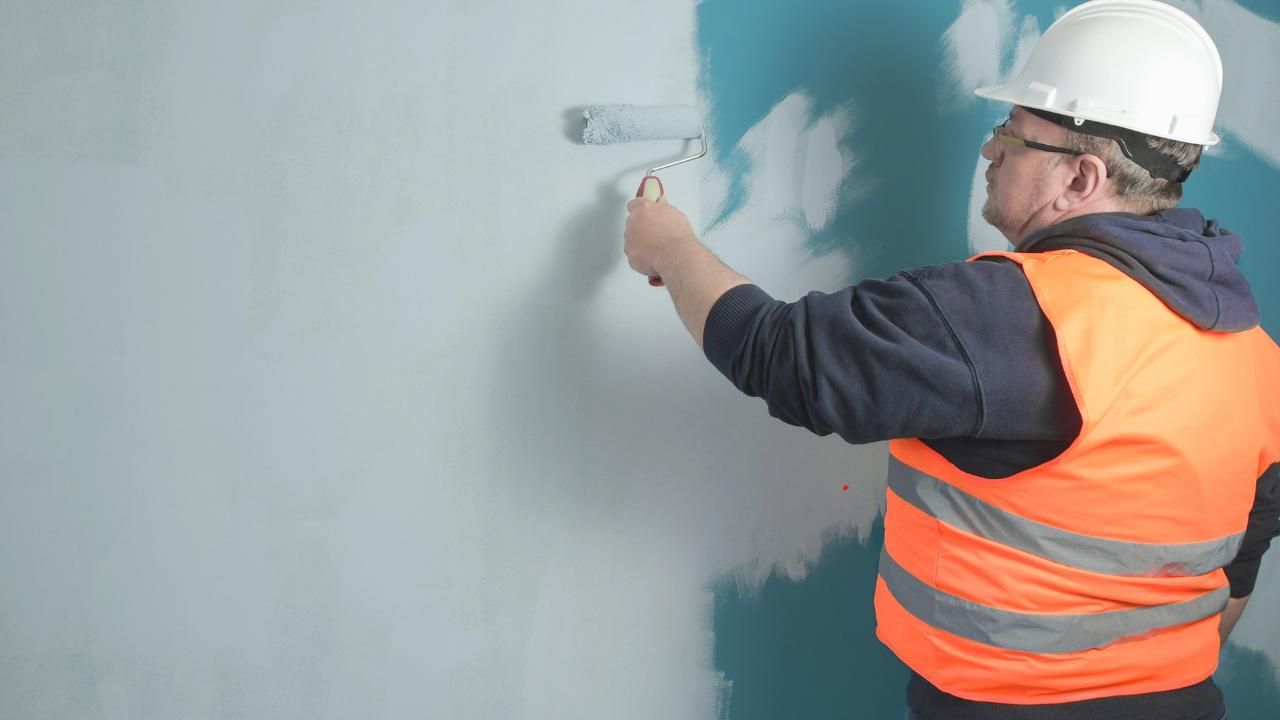
Step 4: Apply the Paint
- Technique: Start from the top and work your way down, applying paint evenly in smooth, overlapping strokes.
- Layers: Apply multiple thin coats rather than one thick coat for better coverage and longevity.
- Drying: Allow sufficient drying time between coats as per the manufacturer's instructions.
Step 5: Clean Up and Maintenance
- Cleanup: Properly clean brushes, rollers, and other tools with water or paint thinner depending on the paint type.
- Maintenance: Regularly inspect and touch up your trim to maintain its appearance and protection.
Tips and Tricks for Professional Results
- Weather Considerations: Paint on dry days with moderate temperatures to ensure proper drying.
- Masking: Use painter's tape to protect adjacent surfaces like windows and siding.
- Trim Details: Pay attention to intricate details and edges for a polished finish.
- Safety: Wear goggles, gloves, and a respirator mask to protect against fumes and debris.
Budget and Timeframes
- Budget: Estimate costs including paint, primer, tools, and potential repairs.
- Timeframe: Depending on the size of your home and condition of the trim, plan for a few days to a week.
Ready to transform your home’s exterior with a fresh coat of paint? Whether you choose to tackle this project yourself or hire a skilled painting company, the key is meticulous preparation and attention to detail. For those in Bellingham looking for professional assistance, consider reaching out to reputable contractor painters who can provide a hassle-free experience and stunning results.
By following these steps and considering your options wisely, you can achieve beautifully painted exterior trim that enhances your home’s aesthetic appeal and durability in the Pacific Northwest climate.