
How to Repaint Exterior Trim: A Step-by-Step Guide for a Fresh Look

Repainting your exterior trim is one of the easiest ways to refresh the look of your home. Whether you’re preparing your house for the rainy season in Bellingham, WA, or just wanting to boost your curb appeal, a fresh coat of paint on your trim can make a world of difference. This guide will walk you through the steps to repaint your exterior trim like a pro, even if you’re a beginner.
Step 1: Gather Your Supplies
Here’s a list of supplies to get started:
- Exterior paint (suitable for trim)
- Primer (if your current paint is peeling or if you're changing colors)
- Painter's tape
- Drop cloths or plastic sheeting
- Paintbrushes (angled brushes work best for trim)
- Sandpaper (medium and fine grit)
- Scraper
- Caulk and caulking gun
- Ladder (if needed)
- Safety goggles and gloves
Having these supplies on hand will ensure that you can work efficiently without interruptions.
Step 2: Prepare the Trim
Proper preparation is key to a long-lasting paint job. Start by inspecting your trim for any peeling paint, cracks, or damage. Use a scraper to remove any loose or peeling paint. After scraping, sand the trim with medium-grit sandpaper to smooth out rough spots and create a surface that the new paint can adhere to.
Next, clean the trim thoroughly to remove any dirt, dust, or mildew. In Bellingham's damp climate, mildew can be a common issue, so be sure to scrub it away with a mixture of water and mild detergent. Rinse the area with clean water and let it dry completely before moving on.
Step 3: Protect Surrounding Areas
To avoid getting paint on areas where it doesn’t belong, take the time to protect them. Use painter's tape to cover the edges where the trim meets other surfaces, like siding or windows. Lay down drop cloths or plastic sheeting to protect the ground and any nearby plants.
Step 4: Apply Primer (If Needed)
If your trim has bare wood or you’re making a significant color change, apply a coat of primer. Primer helps the paint adhere better and provides a uniform base for the topcoat. Make sure the primer is completely dry before moving on to the next step.
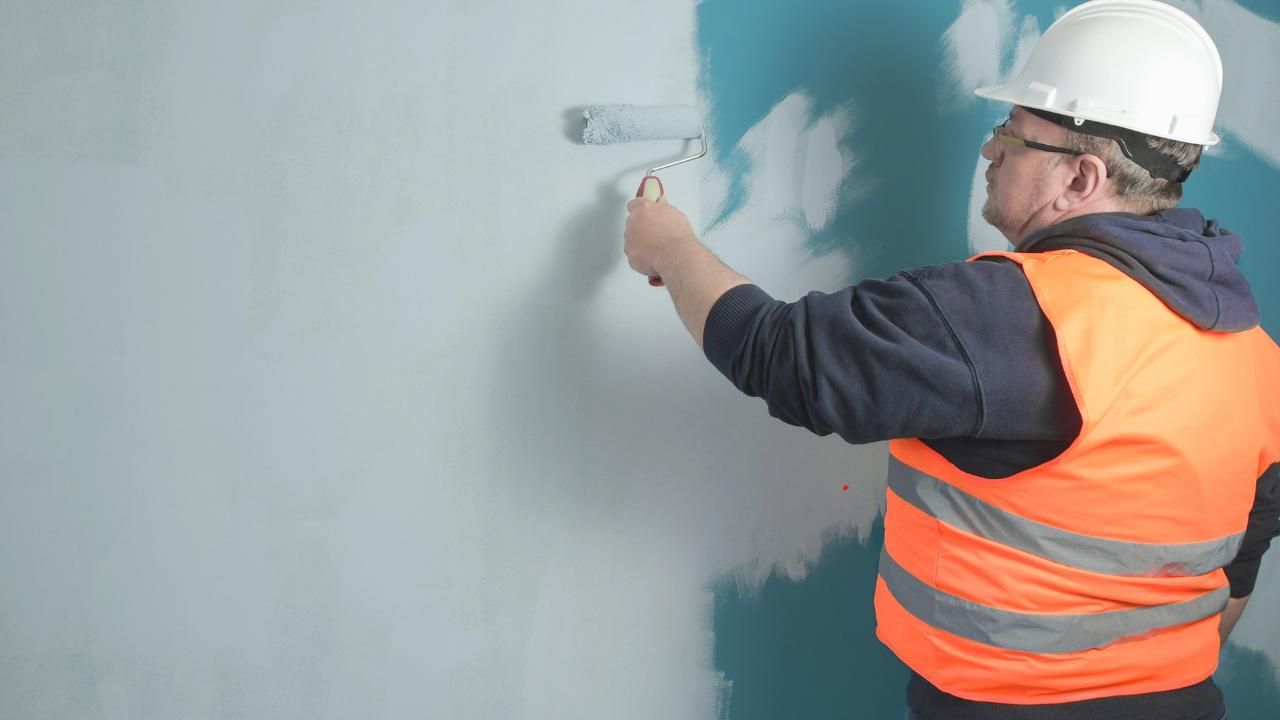
Step 5: Paint the Trim
Now it’s time to paint! Use an angled brush for precision and apply the paint in smooth, even strokes. Start at the top of the trim and work your way down to avoid drips. Depending on the type of paint and the color you choose, you may need to apply two coats for full coverage. Allow each coat to dry completely before applying the next one.
When painting, work on one section at a time to maintain a wet edge, which will help prevent brush marks and create a smoother finish.
Step 6: Inspect and Touch Up
After the final coat has dried, inspect your work. Look for any missed spots, drips, or uneven areas. Touch up as needed to ensure a flawless finish. Remove the painter's tape carefully while the paint is still slightly tacky to avoid peeling.
Step 7: Clean Up
Once you’re satisfied with the results, it’s time to clean up. Wash your brushes and tools thoroughly so they’re ready for the next project. Remove all protective coverings and dispose of any debris properly. If you’ve used oil-based paint, be sure to follow local guidelines for disposal.
Call in the Pros if Needed
While repainting exterior trim is a manageable DIY project, sometimes it’s worth getting help, especially if you’re dealing with high areas or extensive trim work. If you’re in Bellingham, WA, and want to ensure a professional finish, consider hiring painting contractors in Bellingham WA. They have the experience and equipment to get the job done efficiently and beautifully.
Conclusion
Repainting your exterior trim is a satisfying way to enhance the look of your home. By following these steps, you can achieve a fresh, clean finish that will protect your home and add to its curb appeal. Ready to get started? Gather your supplies and get painting, or if you’d prefer a professional touch, reach out to our team. Let us bring your vision to life!