
How Can I Prepare My Home for Interior Painting?
Painting the interior of your home is a fantastic way to refresh your living space, boost your home’s aesthetic appeal, and even increase its market value. Whether you’re considering a simple color update or a full-scale renovation, preparation is important to achieving a flawless finish. This comprehensive guide will walk you through the process of preparing your Bellingham home for interior painting, highlight the benefits of hiring a professional interior painter contractor, and help you choose the right materials and techniques for the job.
Why Hire a Professional Painter?
Expertise and Skill
- Seamless Finish: Professionals possess the skills to deliver a smooth, even finish, free from streaks and blemishes.
- Quality Tools: They use top-tier tools and equipment that ensure superior results.
Time and Convenience
- Efficient Workflow: Experts can complete the job quickly and efficiently, minimizing disruption to your daily routine.
- Stress-Free Experience: Hiring a professional saves you the hassle of dealing with prep work, cleanup, and potential mishaps.
Cost-Effective in the Long Run
- Durable Results: High-quality work means fewer touch-ups and repainting, saving you money over time.
- Access to Better Materials: Professionals can often source high-quality paints and materials at a lower cost than retail.
Types of Paint and Their Applications
1. Latex Paint
- Water-Based: Easy to clean with soap and water, quick-drying, and low odor.
- Best For: Walls and ceilings in low-traffic areas like bedrooms and living rooms.
2. Acrylic Paint
- Versatile: Offers better durability and flexibility than latex paint.
- Best For: High-traffic areas such as hallways and kitchens.
3. Oil-Based Paint
- Durability: Excellent for areas prone to heavy wear and tear.
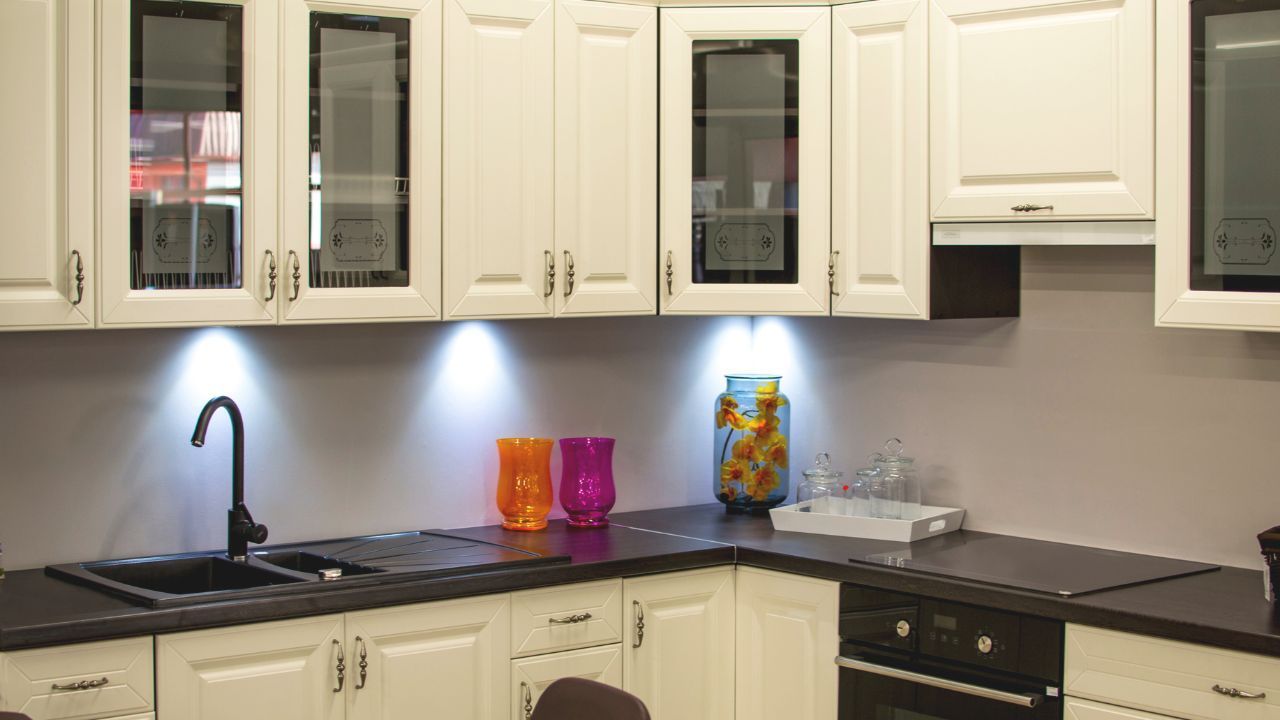
- Best For: Trim, doors, and cabinets.
4. Enamel Paint
- Hard Finish: Provides a glossy, durable surface.
- Best For: Surfaces needing frequent cleaning, such as kitchen cabinets and bathroom walls.
5. Primer
- Foundation Layer: Essential for preparing surfaces to ensure the paint adheres properly and the final color is even.
- Best For: New walls, previously painted walls with color changes, and problem areas like water stains or smoke damage.
Preparing Your Home for Painting
1. Clear the Space
- Remove Furniture: Move furniture out of the room or to the center and cover with drop cloths.
- Take Down Wall Hangings: Remove pictures, clocks, and any other wall-mounted items.
2. Clean the Surfaces
- Dust and Wipe: Clean the walls with a damp cloth to remove dust and dirt.
- Tackle Stains: Use a mild detergent to clean areas with grease or grime, particularly in kitchens and bathrooms.
3. Repair Damages
- Fill Holes and Cracks: Use spackle or putty to fill any holes, cracks, or dents in the walls.
- Sand Surfaces: Sand the filled areas and any rough spots to create a smooth surface.
4. Protect Your Belongings
- Cover Floors and Fixtures: Use drop cloths or plastic sheeting to protect flooring and fixtures from paint splatters.
- Tape Off Edges: Apply painter’s tape along baseboards, window trim, and door frames to ensure clean lines.
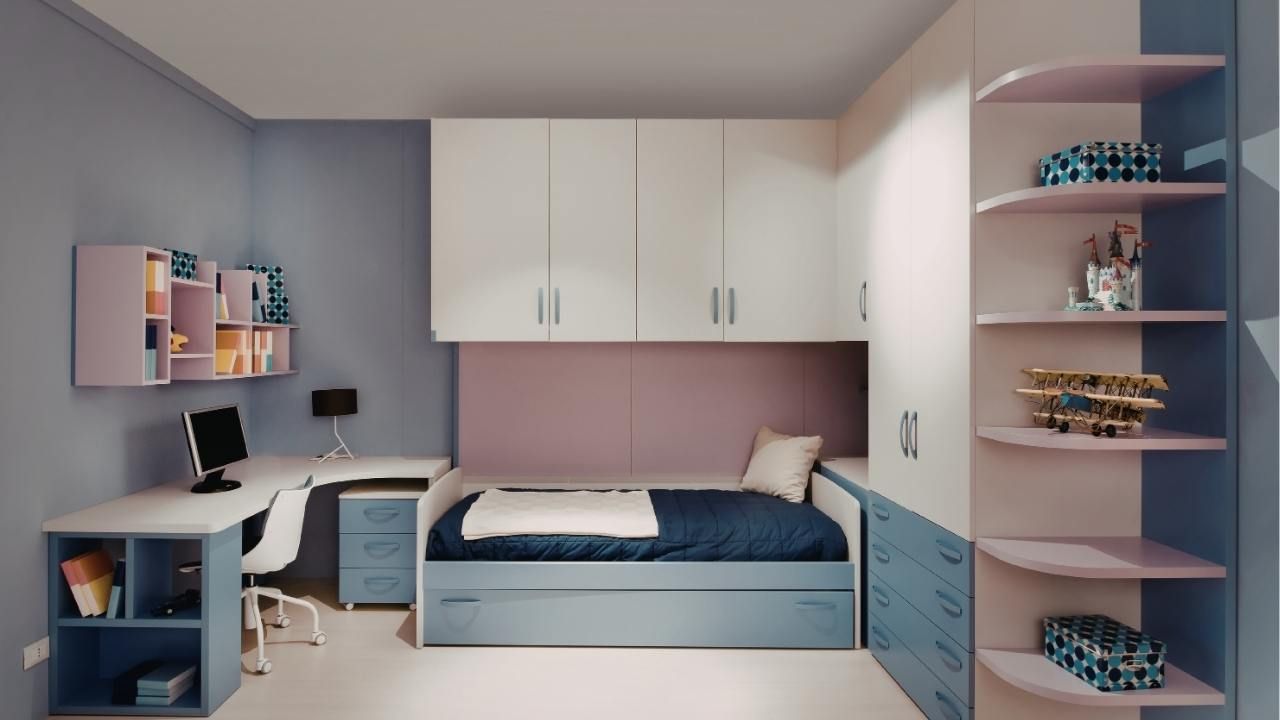
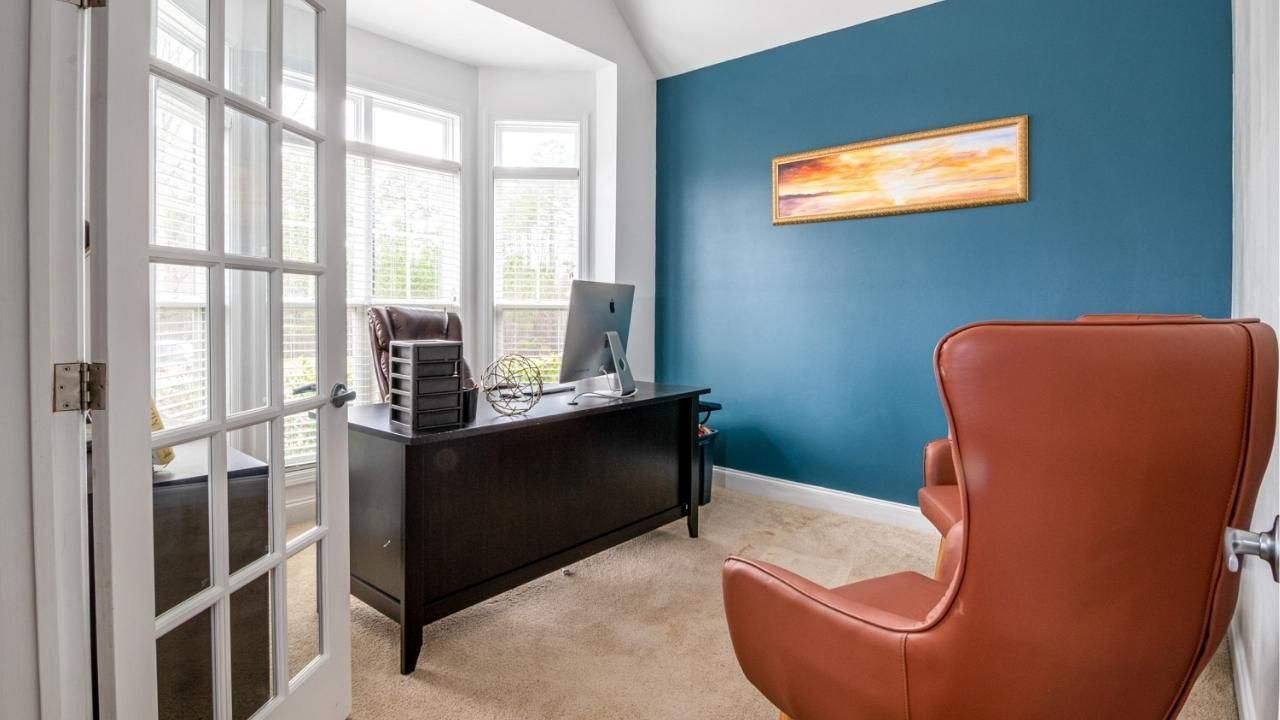
5. Choose Your Color Scheme
- Test Samples: Apply paint samples to small areas to see how they look under different lighting conditions.
- Consider Room Function: Select colors that complement the purpose of each room (e.g., soothing colors for bedrooms, vibrant hues for living areas).
6. Select the Right Finish
- Flat or Matte: Ideal for low-traffic areas; hides imperfections but less durable.
- Eggshell or Satin: Slightly glossy, suitable for most rooms; balances durability and aesthetic appeal.
- Semi-Gloss or Gloss: Highly durable and easy to clean; perfect for kitchens, bathrooms, and trim.
Common Mistakes to Avoid
- Skipping Primer: Neglecting primer can lead to uneven color and poor paint adhesion.
- Ignoring Weather Conditions: Paint can react differently in varying temperatures and humidity levels, affecting drying time and finish.
- Overloading Brushes and Rollers: Applying too much paint at once can cause drips and an uneven finish.
- Rushing the Process: Allow adequate drying time between coats to prevent peeling and bubbling.
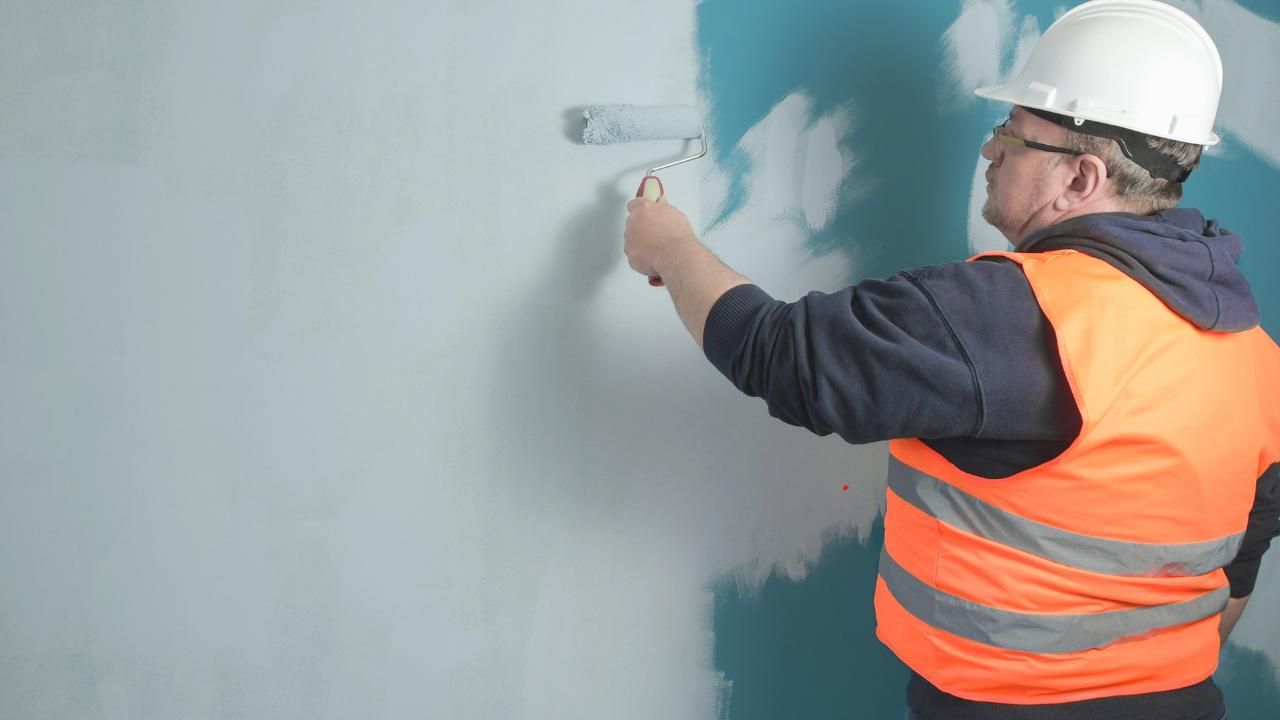
Step-by-Step Process for Interior Painting
- Plan Your Project: Determine the scope, colors, and finishes needed.
- Prepare the Room: Clear, clean, and repair surfaces as described above.
- Prime the Walls: Apply a coat of primer to ensure a smooth base.
- Cut In Edges: Paint the edges of the walls with a brush before using a roller on larger areas.
- Roll the Paint: Use a roller to apply paint to the main wall surfaces in a “W” pattern for even coverage.
- Apply Additional Coats: Allow each coat to dry thoroughly before applying the next to achieve the desired finish.
- Touch Up: Inspect the walls for any missed spots or imperfections and touch up as needed.
- Clean Up: Remove painter’s tape, clean brushes and rollers, and replace furniture and decorations once the paint is fully dry.
Helpful Tips and Recommendations
- Ventilation is Key: Ensure proper ventilation to speed up drying time and minimize paint fumes.
- Quality Over Quantity: Invest in high-quality paints and brushes for a more durable and professional-looking finish.
- Take Your Time: Patience is crucial for achieving the best results, so don’t rush the process.
Transform your Bellingham home with a fresh coat of paint by enlisting the expertise of a professional interior painter. With their skill and experience, you can achieve a stunning, long-lasting finish that elevates your living space. Contact us today for a consultation and let’s bring your vision to life!
By following these guidelines, you can ensure a successful and satisfying interior painting project that enhances the beauty and value of your home.