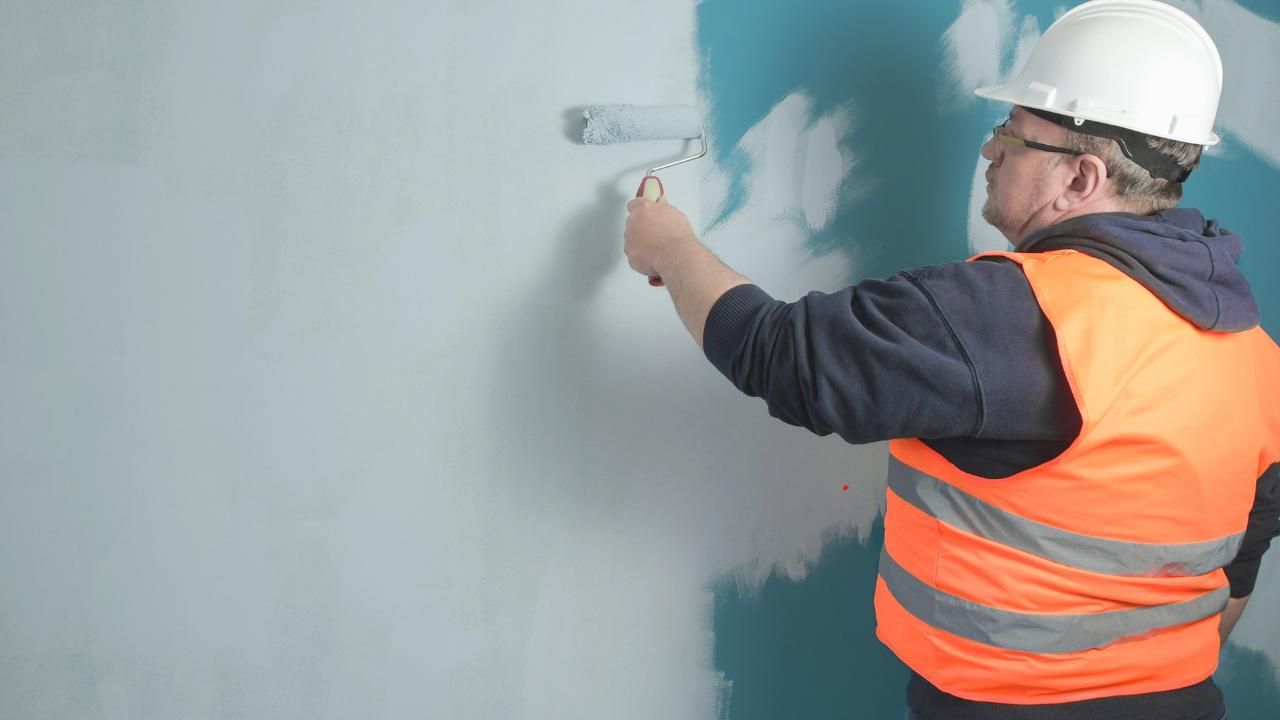

5 Tricks Painters Use to Get Crisp, Clean Edges
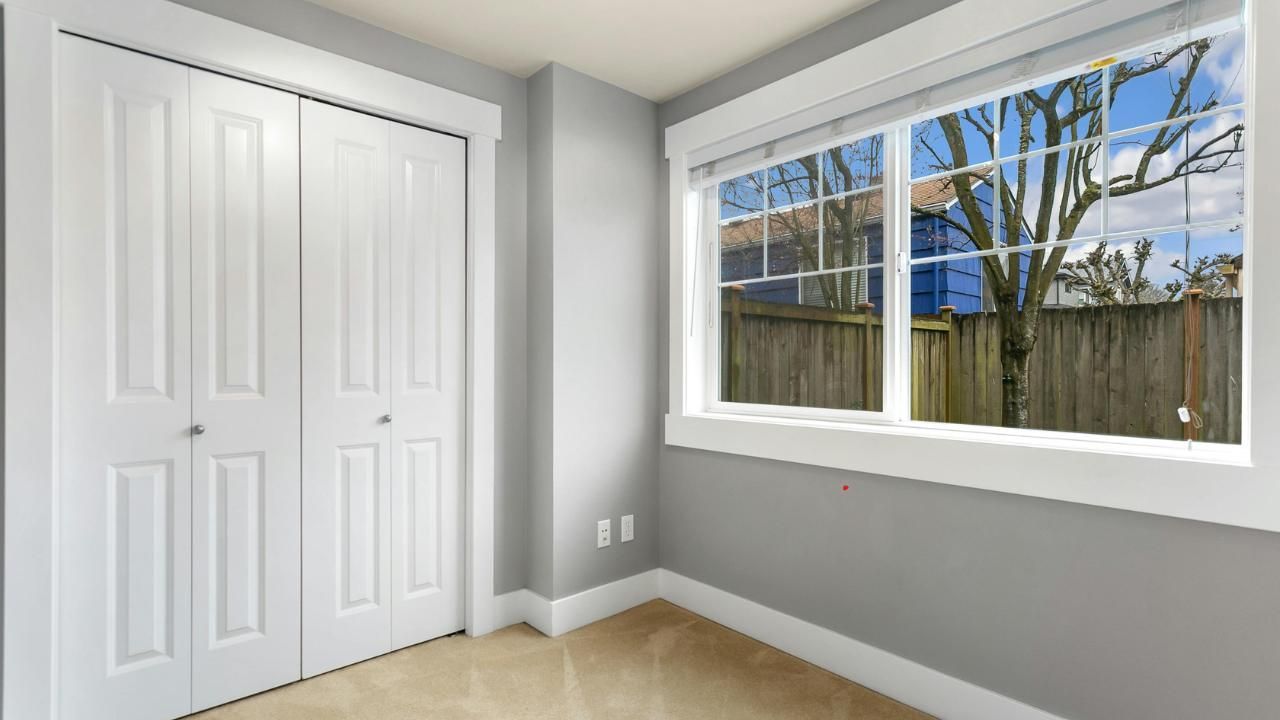
Nothing makes a freshly painted room look more professional than sharp, flawless lines where the wall meets the trim or ceiling. Homeowners often try to achieve this themselves, only to find paint bleeding under the tape or wobbly hand-painted edges. That’s where the expertise of Bellingham WA local painting contractors really shines. Professionals like Next Step Painting LLC know that creating crisp, clean edges isn’t just about skill with a brush—it’s about preparation, tools, and technique. Whether you’re tackling a DIY project or considering hiring pros, here are five tricks painters rely on to make those edges picture-perfect during interior painting projects.
1. Start with Quality Painter’s Tape
Cheap masking tape is a recipe for frustration. Professional painters invest in painter’s tape that adheres well but releases cleanly without damaging the surface. The tape is carefully pressed down along the edge with a putty knife or even a credit card to ensure no gaps where paint could seep through. The right tape creates the foundation for every crisp line you see in a polished paint job.
2. Seal the Edges Before Painting
One of the lesser-known pro tricks is sealing tape edges. After applying tape, painters will run a thin coat of the wall color along the edge before moving to the new color. This seals any tiny gaps under the tape with the base color. Once dry, the next coat of the new color won’t bleed through. It’s a small step that makes a huge difference in the final finish.
3. Use Angled Brushes for Precision
Even with tape, sometimes edges need to be cut in by hand. Angled sash brushes are a painter’s secret weapon here. They allow precise control of paint flow, making it easier to paint straight lines along trim or ceilings. Professionals know how to load just the right amount of paint onto the brush, keeping strokes smooth and steady without drips or uneven edges.
4. Work in Light, Controlled Strokes
Rushing leads to sloppy edges. Instead of heavy, overloaded brushstrokes, painters apply light, even coats. This helps the paint dry more evenly and reduces the risk of pushing paint under the tape. The patience to build up coverage gradually separates pros from weekend DIYers who just want the job done fast.
5. Remove Tape at the Right Time
The final trick is all about timing. Leave the tape on too long and it can tear away bits of dried paint. Pull it too soon and the paint may still be tacky. Professionals typically remove tape while the paint is slightly wet, pulling it back at a 45-degree angle for a clean break. Done right, it’s one of the most satisfying moments in the painting process—revealing crisp, sharp lines that look professionally finished.
Case Study: A Living Room Transformation
A homeowner in Bellingham wanted to brighten their living room with soft grays and crisp white trim. They attempted the project on their own but struggled with uneven edges and tape bleed. After calling in Next Step Painting LLC, the difference was immediate. The crew prepped carefully, sealed tape edges, and used angled brushes to define the trim. By the end, the once-frustrating DIY job looked like something out of a design magazine, and the homeowner admitted they wished they’d called the pros first.
The Takeaway
Getting crisp, clean edges when painting isn’t magic—it’s a mix of technique, quality materials, and patience. These tricks can help any DIY painter improve their results, but if you want guaranteed professional-quality lines, it may be time to bring in the experts. A skilled painting contractor doesn’t just apply paint—they elevate a room with sharp, polished details that make the entire space look refreshed and refined.
Ready to see the difference?
Reach out to your local professionals and enjoy the satisfaction of edges that look flawless every time.