
How to Paint Laminate Cabinets Without Peeling or Chipping
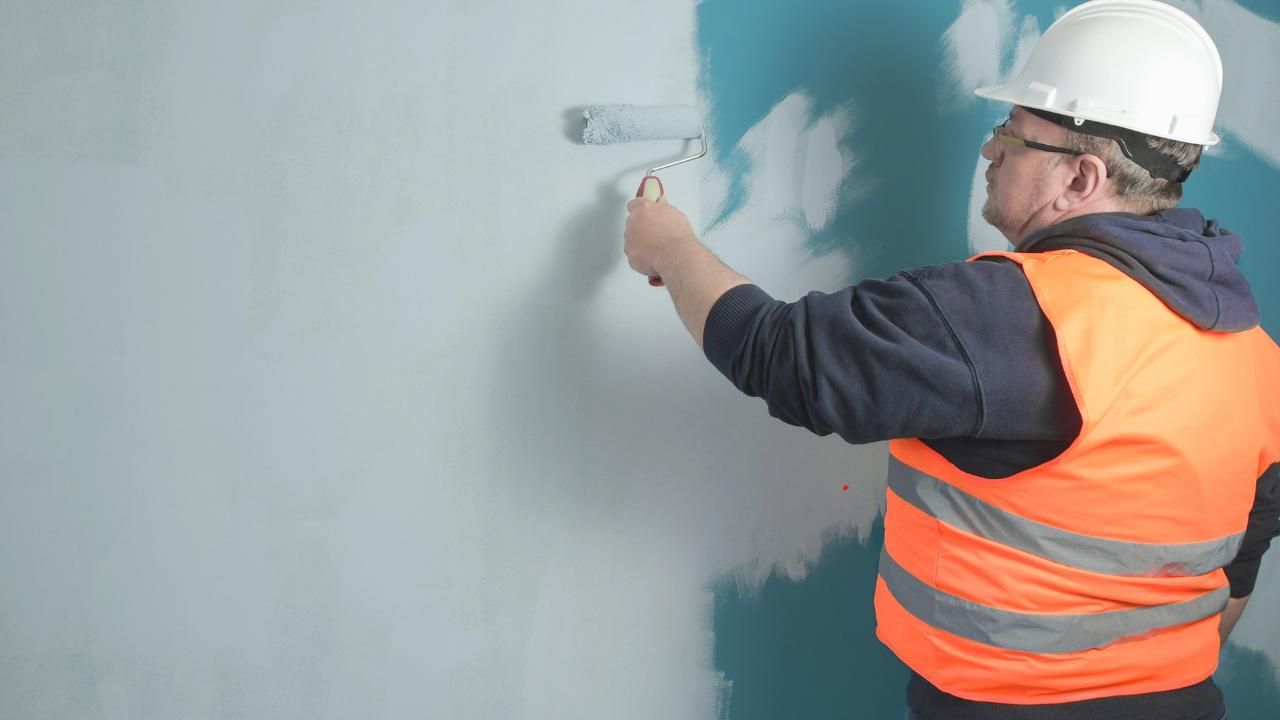
If you’ve ever thought about giving your kitchen a fresh look without replacing everything, painting your cabinets is a smart option. But when those cabinets are made of laminate instead of wood, things can get tricky. The smooth surface doesn’t hold onto paint easily, which is why many homeowners worry about peeling and chipping after a few months. Luckily, with the right prep and techniques, you can make your laminate cabinets look brand new and durable.
Whether you’re considering DIY or hiring residential painting contractors in Bellingham WA, learning the process can save you frustration down the road. Companies such as Next Step Painting LLC specialize in transformations like this, offering expert cabinet painting that lasts. But if you’re leaning toward doing it yourself, here’s what you need to know to get results that stick.
Step 1: Clean Thoroughly Before Anything Else
Laminate surfaces pick up grease, dust, and fingerprints faster than you’d think. Before even thinking about primer or paint, give your cabinets a deep clean:
- Use a degreaser or a mix of warm water and dish soap.
- Wipe down every inch, including edges and corners.
- Rinse with clean water and let them dry completely.
Skipping this step is one of the top reasons why paint peels later. If the surface isn’t spotless, nothing will adhere properly.
Step 2: Sand Lightly to Give Paint a Grip
Unlike wood, laminate doesn’t have pores for paint to sink into. That’s why sanding is crucial. You don’t need to sand aggressively, but you do need to scuff the surface so your primer can lock on.
- Use 120–150 grit sandpaper.
- Sand lightly until the glossy finish looks dull.
- Wipe off dust with a tack cloth.
Think of sanding as creating tiny “grips” for the paint. Without this step, even the best primer will struggle to stay put.
Step 3: Prime with the Right Formula
The secret weapon against peeling and chipping is primer. Regular primer isn’t enough—you’ll need a bonding primer specifically designed for slick surfaces like laminate.
- Apply with a high-quality brush or foam roller.
- Let it cure fully, not just dry. (Check the can for recommended time.)
- Don’t rush this step, or your hard work may not last.
A bonding primer acts as the glue between the slick laminate and your paint layers.
Step 4: Use Quality Paint and Apply Thin Coats
When it comes to cabinet painting, not all paints are created equal. You’ll want a durable enamel or a paint labeled “cabinet-grade.” These resist scratches, moisture, and daily wear better than wall paint.
- Apply multiple thin coats rather than one thick coat.
- Allow proper drying time between coats.
- Finish with a protective topcoat for extra durability.
This layering process ensures the paint bonds well and cures into a strong finish.
Step 5: Handle with Care During Curing
Even after the paint feels dry to the touch, it takes weeks to fully cure. Be gentle during this time:
- Avoid slamming doors and drawers.
- Don’t place heavy items near edges that could chip.
- Clean with mild soap instead of harsh chemicals.
Patience during curing pays off in long-term durability.
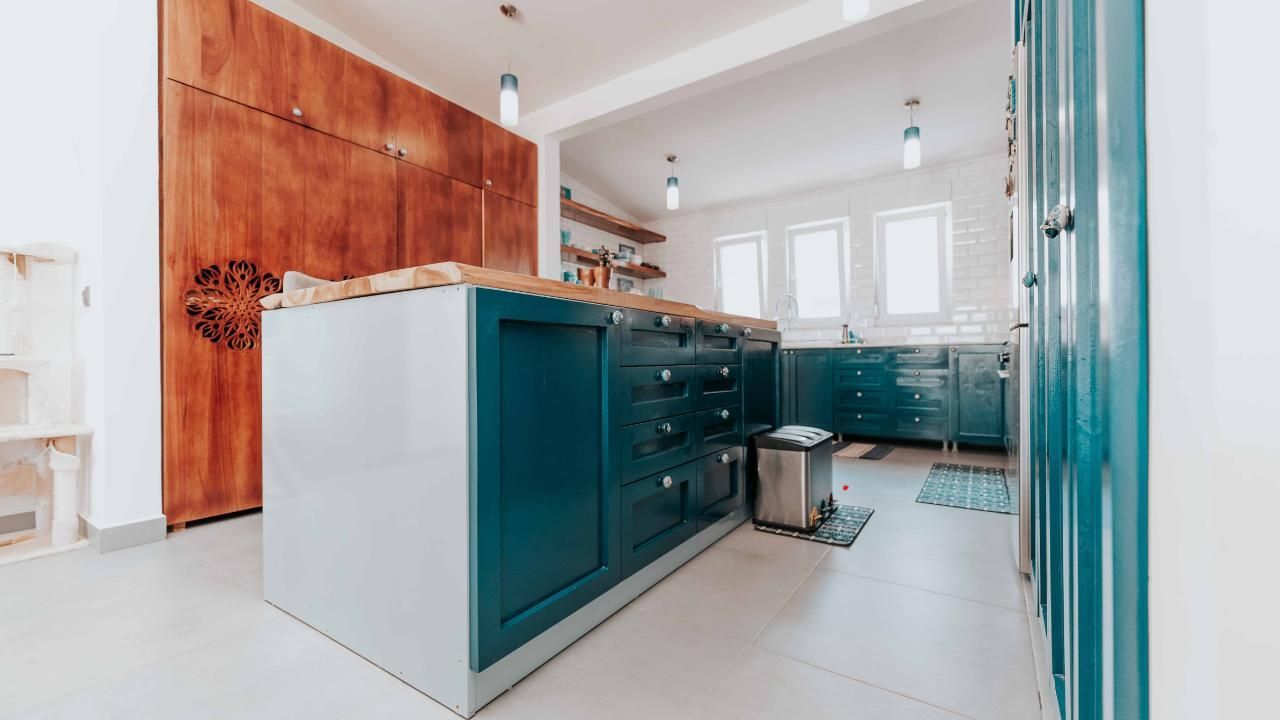
Case Study: A Kitchen Makeover Success
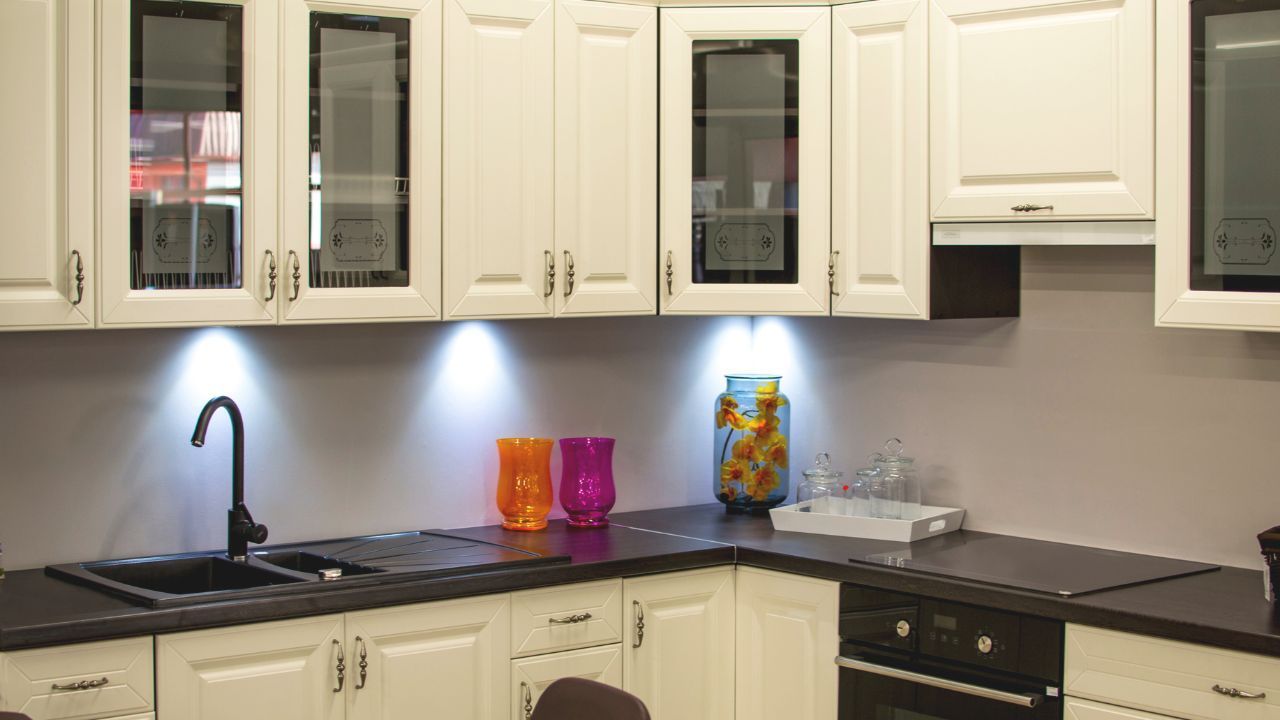
One homeowner in Bellingham had outdated laminate cabinets that made their kitchen feel dark and cramped. Instead of replacing them, they followed the process above—cleaning, sanding, priming, and applying enamel paint. The transformation was stunning. Two years later, the cabinets still looked flawless, with no signs of peeling or chips. Their only regret? Not doing it sooner.
Final Thoughts
Painting laminate cabinets is absolutely doable if you put in the prep work. Cleaning, sanding, and using the right primer are non-negotiable steps. And while it takes more time and patience than painting wood, the payoff is a fresh, updated kitchen at a fraction of the cost of replacement.
If you’d rather skip the trial and error, hiring professionals ensures flawless, lasting results. Local cabinet painting experts bring the right tools, techniques, and experience to make sure your investment pays off.
Ready to give your kitchen a fresh start? Whether you DIY or call in a pro, the key is doing it right the first time. Don’t let peeling paint ruin your project—take the extra steps now for cabinets you’ll love for years.