How to Maintain Painted Cabinets and Prevent Wear Over Time
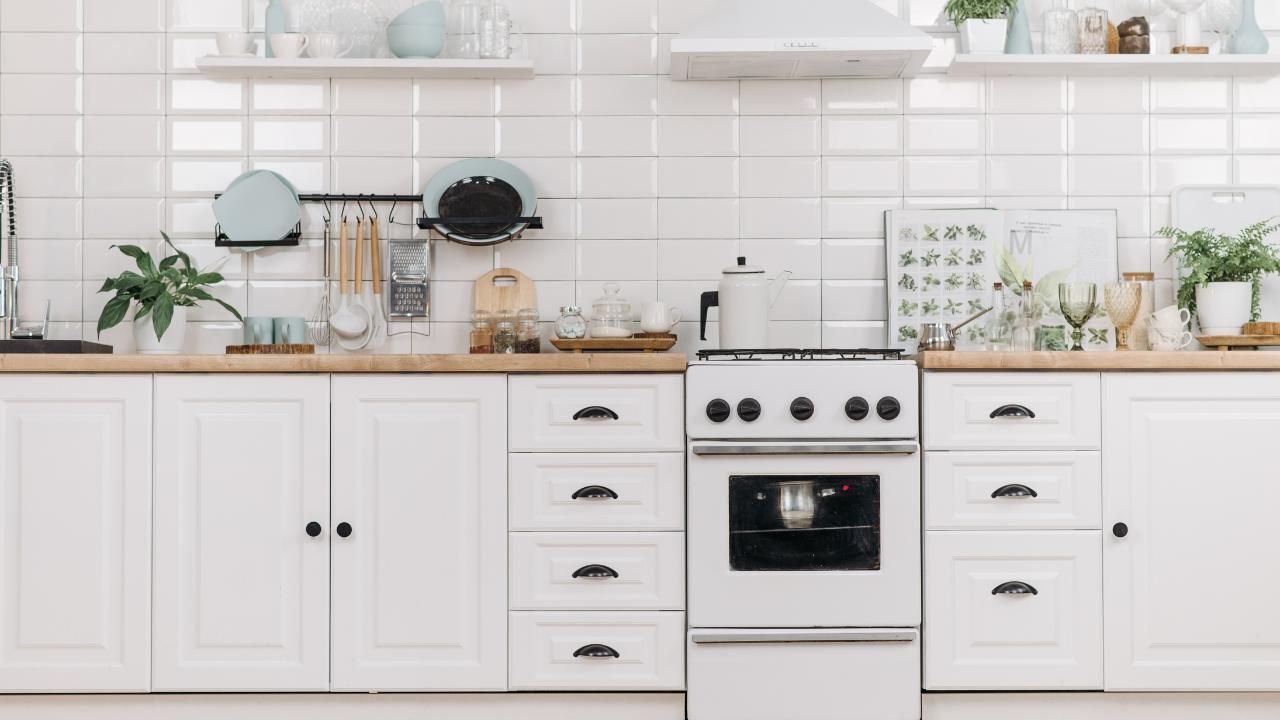
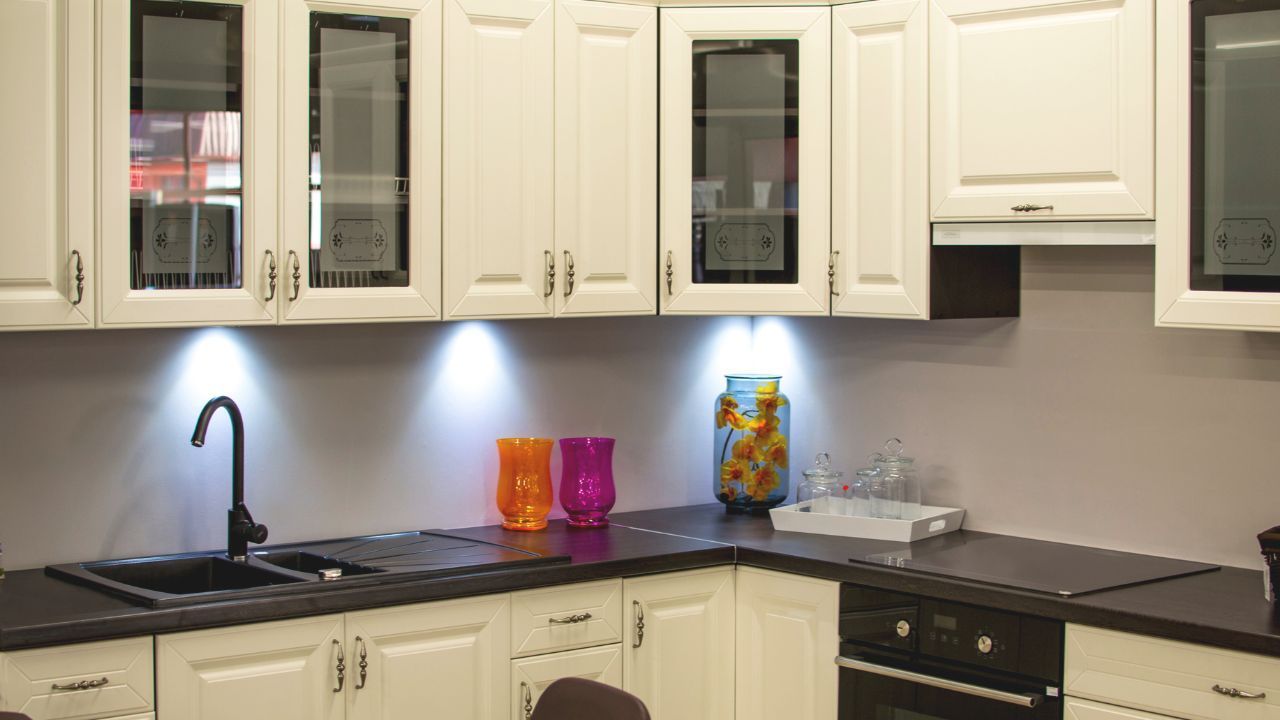
Painted cabinets can completely transform the look of your kitchen or bathroom—but like anything beautiful, they need a little TLC to stay that way. Without proper care, even the highest-quality cabinet painting job can chip, fade, or wear unevenly. The good news? You can keep them looking fresh and fabulous for years with just a few simple maintenance habits.
In this post, you’ll learn:
- How to clean your cabinets without damaging the paint
- The dos and don’ts of hardware and hinge care
- Tips to prevent chipping, peeling, or fading over time
Let’s break it down step by step.
1. Gentle Cleaning Is Key
Painted cabinets are tough—but not invincible. Cleaning them the wrong way can dull the finish or strip the paint altogether.
Here’s how to clean without causing damage:
- Use a soft cloth or sponge (avoid scouring pads)
- Mild dish soap + warm water is usually enough for everyday grime
- Dry immediately to avoid moisture damage
- Spot test before using any specialty cleaners
Avoid harsh chemicals like bleach, ammonia, or abrasive cleaners. If you need to tackle grease, a gentle vinegar and water solution works wonders—just don’t let it sit too long on the surface.
2. Watch Out for Moisture
Bathrooms and kitchens are naturally humid areas, which spells trouble for painted surfaces if you’re not careful.
To reduce wear from moisture:
- Use exhaust fans when cooking or showering
- Wipe spills and steam build-up right away
- Install soft-close hinges to prevent slamming
It’s also smart to check beneath sinks and around dishwashers for leaks—slow drips can do more damage over time than you’d think.
3. Handle With Care (Literally)
Believe it or not, how you open and close your cabinets affects how long the paint job lasts. Tugging from corners or edges can slowly wear down the finish.
Protect your painted cabinets by:
- Using knobs and handles every time—don’t skip them
- Tightening loose hardware before it starts wobbling
- Avoiding overloading cabinet doors with heavy items
And if you're planning to change the hardware, be gentle when removing old screws—stripping them can crack the paint around the holes.
4. Touch-Ups Matter More Than You Think
Chips and scratches are bound to happen, especially in high-traffic areas. But the key is catching them early.
Here’s how to handle minor paint touch-ups:
- Lightly sand the damaged area
- Wipe it clean and let it dry
- Dab on matching paint with a small brush
- Let it cure fully before cleaning the spot again
If you hired a pro for the original job, they may have left you with a sample of the exact paint. If not, bring a cabinet door to the paint store—they can color match it pretty closely.
5. Schedule Occasional Professional Check-Ups
Even the best DIY care routine can’t beat a professional eye now and then. A trusted house painter Bellingham homeowners recommend can assess your cabinets for wear and perform deeper touch-ups when needed.
If it’s been several years and your cabinet painting has started to look dull or worn out despite your best efforts, a professional refresh may be the most cost-effective solution.
Case Study: A Kitchen Rescue Done Right
The Thompsons in Bellingham had their cabinets painted five years ago but noticed the paint around their sink was beginning to peel. Instead of ignoring it, they called in a pro from Next Step Painting LLC. With a quick touch-up and sealant application, their kitchen looked brand new—and they avoided the cost of a full repaint.
Painted cabinets are an investment worth preserving. With regular cleaning, smart habits, and a few touch-ups along the way, you can keep them beautiful for years to come.
Ready for a refresh or need expert advice? Reach out to a local pro who specializes in long-lasting cabinet painting.


