
How to Fix and Repaint a Damaged Wall Like a Pro
Walls take more of a beating than we realize. From dings and nail holes to scuffs and peeling paint, it doesn’t take much for them to lose their polished look. If you’ve ever searched “painting contractors near me” hoping to find a quick fix in Bellingham WA, you’re not alone. But with the right tools and a little patience, you can restore your wall like a pro—no crew required.
In this guide, you’ll learn how to repair common wall damage, prep the surface, and repaint it for a flawless finish. Whether you’re touching up a rental or upgrading your forever home, this step-by-step guide has you covered.
Step 1: Assess the Damage
Not all wall damage is created equal. Before jumping in with a roller and a bucket of paint, take a good look at what you’re dealing with:
- Nail holes – Easy fix with a bit of spackling paste.
- Dents and dings – Require filler and sanding.
- Peeling or cracked paint – Usually caused by moisture or poor prep. These need more attention.
- Water stains or mold – These indicate a bigger problem. Fix the leak or moisture issue before repainting.
Pro tip: Run your hand along the wall. If the surface feels uneven, you’ll want to address it before moving to the fun part—painting.
Step 2: Repair the Wall
Here’s a basic breakdown of what you’ll need:
- Spackling paste or joint compound
- Putty knife
- Sanding sponge or sandpaper (120- to 220-grit)
- Damp cloth
Patch it up:
- Apply spackling paste over small holes and minor dents using a putty knife. Smooth it flush with the wall.
- For larger holes (think doorknob-sized), use a wall repair patch kit.
- Let everything dry fully—usually a few hours depending on humidity.
Sand it down:
Once dry, sand the patched area gently until it’s smooth and blends with the rest of the wall. Wipe away dust with a damp cloth.
Step 3: Prime the Surface
This is the step most DIYers skip—and regret later. Primer helps:
- Seal the patch so it doesn’t absorb paint unevenly
- Cover old stains or darker colors
- Improve adhesion for longer-lasting paint
Use a small brush or roller to apply a thin coat of primer over the repaired area. If you're painting the entire wall, prime the whole surface.
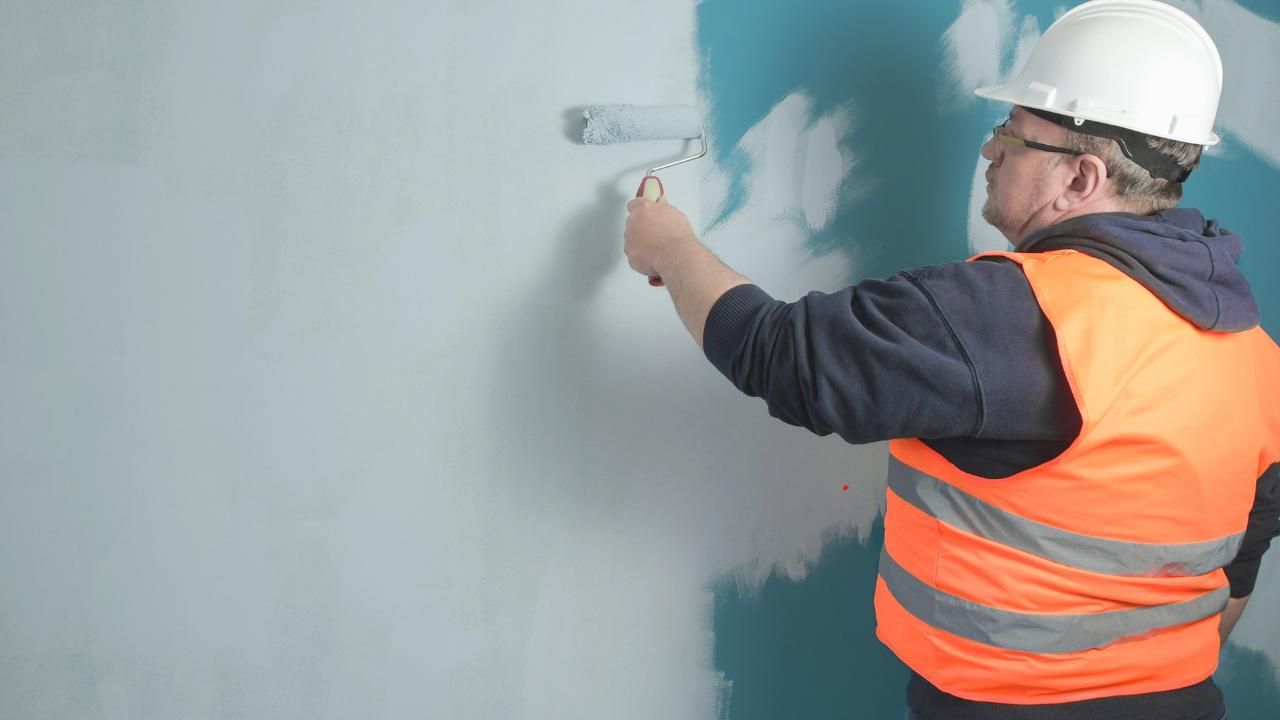
Step 4: Repaint with Care
Now the fun begins. Choose a high-quality interior paint that matches your wall (or go bold with something new). You’ll need:
- Painter’s tape
- Angled brush for edges
- Roller for larger areas
Tips for a smooth finish:
- Cut in around edges and corners with a brush first.
- Use a roller for the main wall, working in sections.
- Apply 1–2 coats depending on coverage. Always let each coat dry completely.
Avoid overloading your roller with paint. Thin, even layers are your best bet for a pro look.
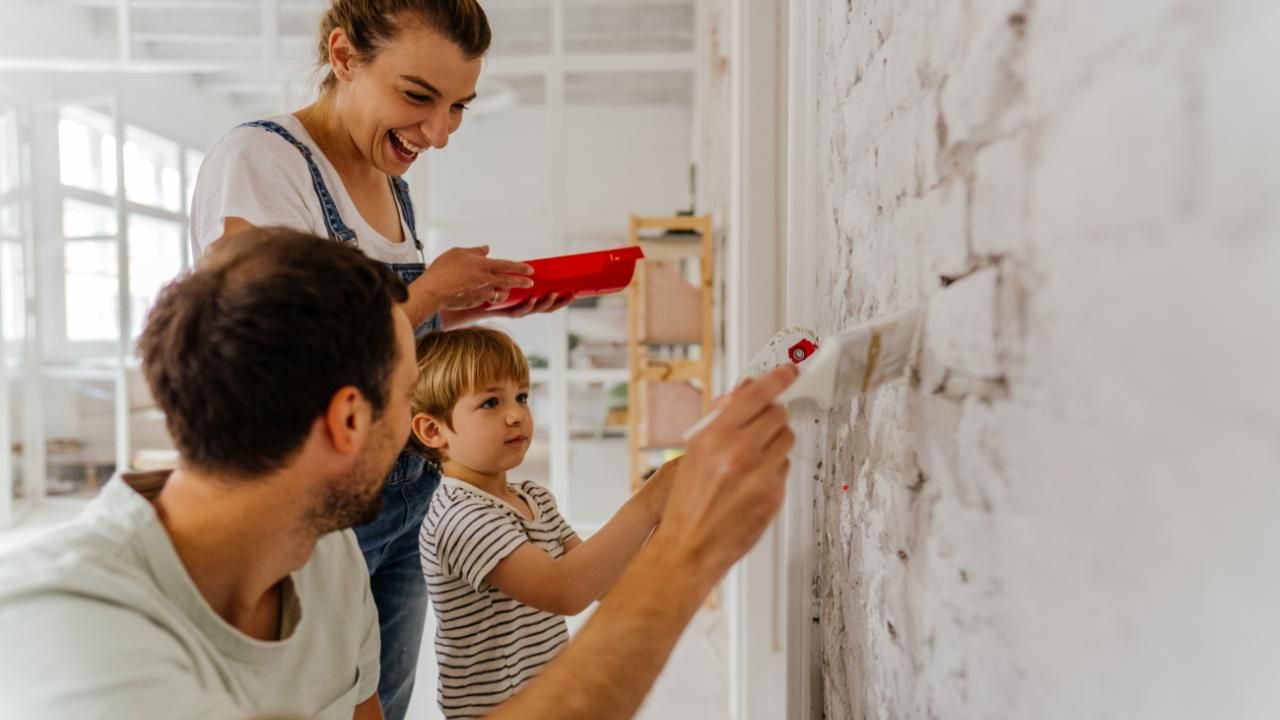
Case Study: A Bellingham Refresh
When Sarah M. moved into her Bellingham WA bungalow, the living room walls were covered in scuffs and holes from previous tenants. Instead of calling in help, she followed the same four steps above—repair, sand, prime, and paint. In one weekend, she turned a tired-looking space into a bright, fresh room ready for guests. “It was easier than I thought,” she said. “And honestly, kind of fun!”
When to Call in the Pros
If the damage is extensive, the wall texture is tricky, or you simply don’t have the time, don’t hesitate to bring in experts. Professional painters like Next Step Painting LLC offer Bellingham services that take the guesswork out of home upgrades and leave you with a clean, lasting finish.
Wrap-Up
Fixing and repainting a damaged wall is totally doable—even for beginners. With the right prep and patience, you’ll get professional results without the professional price tag.
Feeling stuck? Local experts are just a call away. Contact a trusted house painting contractor in Bellingham WA to get started.